Work Statuses
Adding a New Work Status
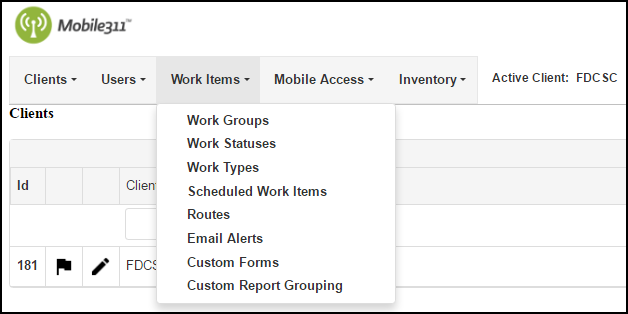
- Hover over the Work Items tab and select Work Statuses.
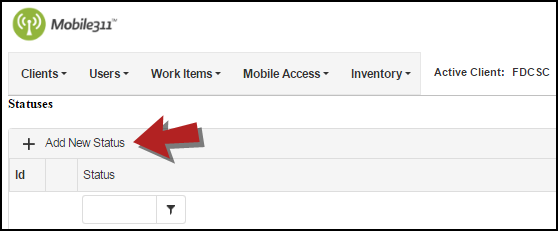
- Click on Add New Status at the top of the Work Statuses list.
- Enter a Status Name. Some examples of Statuses you can enter are Parts on Order, Waiting on Weather, Accepted, and Closed. *Note: This is a required field.
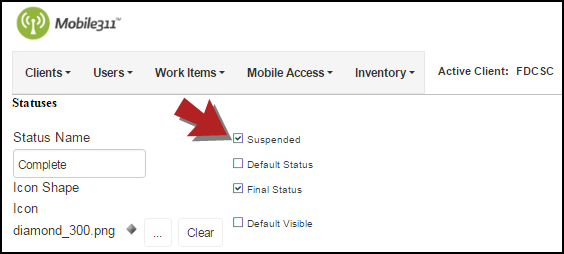
- You can set your Status to be the Default Status or the Final Status (i.e. Complete) by checking the corresponding check box. *Note: Work Types can only have one default status.
- You can also have the Status be Default Visible by checking the box next to that option.
- Choose an Icon Shape for your Status by clicking on the button to the right of the triangle icon. The shape options available for status are a circle, diamond, square, or triangle. *Note: Setting an icon shape for your Status allows work items with the Status to show up as that shape when looking at the map in the portal. This helps distinguish one Status from another.
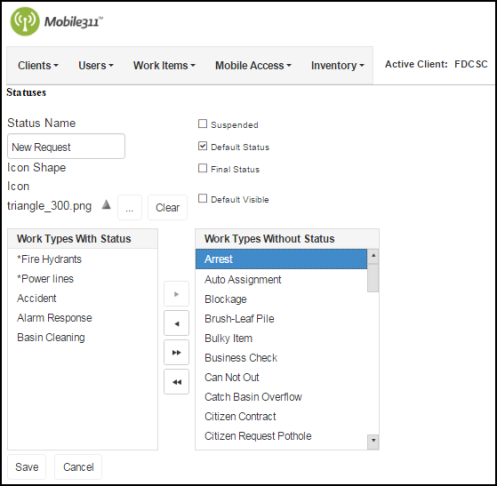
- Select the Work Types from the Work Types Without Status box and use the left arrow to add those Work Types to the Work Status. Work Types using the Status will appear in the Work Types With Status box.
- Click the Save button when you are finished.
Code Enforcement users sometimes create multiple Work Statuses for just one Work Type. For example, the Work Type of Junk Vehicle could have the following Statuses:
- Violation Letter Sent
- Second Violation Letter Sent
- Junk Vehicle Removed by Owner
- Junk Vehicle Removed by City
This example shows how you can utilize Work Statuses in your work flow and has two final Statuses built in.
Editing a Work Status
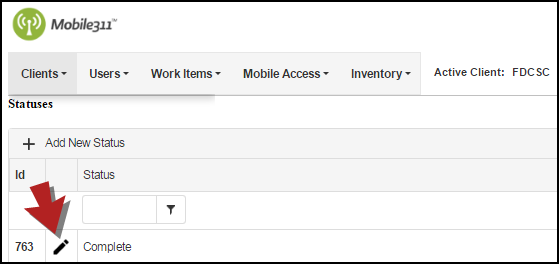
- Hover over the Work Items tab and select Work Statuses.
- Click on the pencil icon (
 ) next to the Work Status that needs to be updated.
- On the next screen, make any necessary changes and click the Save button when you are finished.
Suspending a Work Status
If a Status no longer needs to be used, you have the option of suspending it so that it can no longer be selected on a Work Item and will not appear in the Work Statuses list. *Note: Once a Status is suspended, the work items within that Status will no longer be viewable.
- Hover over the Work Items tab and select Work Statuses.
- Click the pencil icon () next to the Work Status that needs to be suspended.
- Check the Suspended box at the top of the page.
- Click the Save button when you are finished.
If you want to remove your work items from being visible and start fresh, create a Status titled "Deleted". You can then change all of your work items to this Status. Once you do this, access the Admin Site to suspend the Deleted Status and those work items will no longer show.
